Mobile RV Roof Repair
We provide mobile RV maintenance and repair fixing damage or addressing issues with the roof of your RV to ensure it remains watertight, structurally sound, and able to withstand exposure to the elements. The roof is one of the most critical components of an RV because it protects the interior from rain, snow, UV rays, and other environmental factors. Over time, the roof can develop problems, such as leaks, cracks, or worn-out seals, that need attention to prevent further damage to the RV.
Common RV Roof Types:
- Rubber (EPDM or TPO) Roof: The most common type for RVs, especially for newer models. EPDM (Ethylene Propylene Diene Monomer) is a durable, flexible synthetic rubber material, while TPO (Thermoplastic Olefin) is another popular roofing material.
- Fiberglass Roof: Used in some RVs, especially older models, fiberglass is strong and resistant to wear but can be prone to cracking if not properly maintained.
- Metal Roof: Some RVs, especially those designed for off-road use, may have a metal roof, typically made of aluminum.
- Acrylic or PVC Roof: Less common but used in certain RVs, offering a smooth finish and durability.
Routine RV Roof Maintenance Tasks:
- Regular Cleaning:
- Clean your RV roof every few months to remove dirt, leaves, and other debris. For rubber roofs, use a non-abrasive cleaner designed for the material.
- Tip: Always clean the roof after a long trip or before storing the RV for extended periods.
- Inspect the Roof for Damage:
- Visually inspect the roof for cracks, holes, and signs of wear, especially after trips in harsh weather.
- Inspect seams, seals around vents, and around air conditioning units for wear.
- Reapply Sealant:
- Apply a new layer of sealant around seams, vents, and other fixtures every 1–2 years or sooner if you notice deterioration.
- For rubber roofs, consider using an EPDM roof coating to protect the surface and prevent cracking.
- Check Roof Fixtures:
- Ensure all roof-mounted fixtures (e.g., air conditioners, antennas, skylights) are secure and properly sealed to prevent leaks.
- Winterize the Roof:
- If you live in a cold climate, it’s essential to winterize the roof by checking for leaks or damage before freezing temperatures set in.
- Insulate any exposed areas and remove any snow or ice buildup that could cause damage
Tips for Prolonging Your RV Roof’s Lifespan:
- Park Under Cover: When possible, park your RV in a covered area to reduce exposure to the sun, rain, and snow.
- Apply a UV Protectant: Regularly apply a UV protectant to rubber or TPO roofs to preserve the material.
- Inspect After Storms: After heavy storms or hail, inspect the roof for new damage and repair it quickly to prevent further deterioration.
Common RV Roof Problems and Repairs:
- Possible Causes: Cracks, punctures, or damaged seals around vents, air conditioners, skylights, or seams.
- Symptoms: Water stains on the ceiling, musty smells, or wet spots inside the RV after it rains.
- Repair Tip: Inspect the roof for visible damage, cracks, or gaps in the seams. Use an RV roof sealant (such as silicone or polyurethane) to seal cracks or gaps. Replace or reapply the sealant around roof vents, air conditioners, and other fixtures. In cases of large tears or holes, you may need to patch the roof with a roofing patch kit.
- Possible Causes: UV exposure, weathering, or physical damage.
- Symptoms: Cracks, splits, or holes in the roof material (especially rubber or TPO roofs).
- Repair Tip: For rubber or TPO roofs, clean the area around the crack and apply a roof patch or membrane repair tape. If the crack is too large, you might need to replace the damaged section of the roof. For fiberglass or metal roofs, the damaged area can be repaired with fiberglass resin or metal roof patches.
- Possible Causes: Normal wear and tear from weather, UV exposure, or improper installation.
- Symptoms: Leaks or drafts around vents, skylights, and other roof-mounted features.
- Repair Tip: Remove the old, deteriorated sealant or weatherstripping and clean the area. Reapply fresh sealant or replace the weatherstripping around the vent or skylight. For rubber roofs, use a roofing sealant designed for the specific material (e.g., EPDM or TPO sealant).
- Possible Causes: Leaves, dirt, or twigs accumulating on the roof.
- Symptoms: Clogged gutters or drainage systems, which can lead to water pooling and leaks.
- Repair Tip: Regularly clean the roof by removing debris and leaves. Make sure that the RV’s gutters are clear and draining properly to prevent water from accumulating. Consider installing a protective cover or mesh screen to keep debris from collecting on the roof.
- Possible Causes: Vibration from driving, wear, or poor installation.
- Symptoms: Gaps or loose roof sections around roof-mounted items like air conditioners, antennas, or vents.
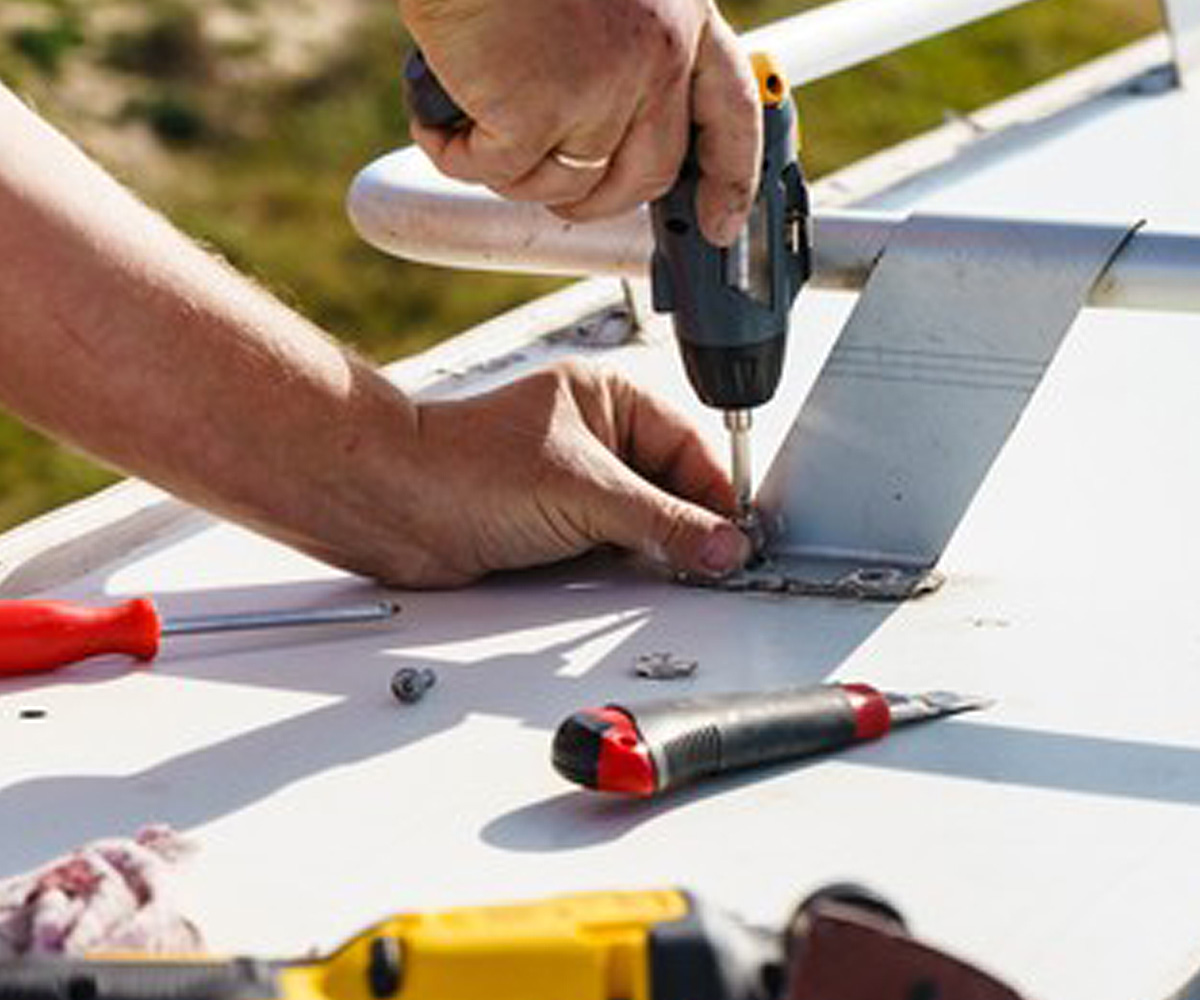
- Repair Tip: Tighten any loose screws and check for missing ones. If the screw holes have become stripped, use larger screws or fill the holes with a strong adhesive or sealant. In some cases, you may need to install new hardware or reinforce the area with a patch.
- Possible Causes: Moisture infiltration, aging, or poor manufacturing.
- Symptoms: Bubbling, blistering, or separation of layers in the fiberglass roof.
- Repair Tip: Delamination can be tricky to repair and might require professional help. In some cases, the affected portion of the roof may need to be replaced, or the layers may need to be re-bonded together using specialized adhesives and techniques.
- Possible Causes: Standing water or leaks.
- Symptoms: Black or green patches on the roof or the smell of mildew inside the RV.
- Repair Tip: Clean the affected areas using a mold-removal cleaner specifically designed for RV roofs. For rubber roofs, use a gentle cleaner to avoid damaging the material. If the mold has spread into the interior of the RV, it may be necessary to address the source of the leak and clean or replace any affected insulation.
- Possible Causes: Prolonged exposure to sunlight.
- Symptoms: Cracking, fading, or brittleness in the rubber roof.
- Repair Tip: Apply a UV protectant or rubber roof conditioner designed for RVs to help restore the flexibility and protect the roof from further sun damage. It’s also important to re-seal any cracks or seams to prevent water ingress.
- Roof Sealant: Choose the correct type based on your roof material (silicone, urethane, EPDM, or TPO).
- Roof Cleaning Supplies: A soft brush, non-abrasive cleaner, and water for cleaning the roof.
- Patch Kits: For repairing cracks, holes, or tears in rubber or fiberglass roofs.
- Caulking Gun: For applying roof sealant and adhesive.
- Screws or Fasteners: To secure loose fixtures or mountings.
- Fiberglass Repair Kit: For fiberglass roof damage, including resin and reinforcement materials.
When to Call a Professional:
- Major Leaks or Structural Damage: If the roof has significant structural damage or if you are unable to locate or fix a major leak.
- Roof Delamination: If your fiberglass roof is delaminating, this may require professional repair or replacement.
- Complex Roof Features: If the roof has extensive damage around vents, air conditioning units, or other complex features, it’s best to consult a professional for repairs.
- If You’re Uncomfortable: If you’re unsure about your ability to safely access or repair the roof, hiring a professional ensures the work is done correctly and safely.
Proper RV roof maintenance and timely repairs will help you avoid costly damage and ensure that your RV remains leak-free and in good condition for many years of adventure. Let us know if you need more specific repair advice!
01
Modern
Workshop
Save time and money. We bring our shop to you. Providing convenient and flexibly service.
02
Our
Guarantee
Our repair service will be delivered to you until you are 100% completely satisfaction.
03
Certified
Service
We are RV certified to inspect, service and maintain recreational vehicles.